Whether you’re inherently creative or not, one of the best hobbies you may find yourself getting into is custom jewellery making. Particularly, if you’re a jewellery lover, you’ll definitely enjoy making your own pieces. It can be a game changer to have custom pieces. More so now that you’ve made them all by yourself too.

Once you have decided to make your own jewellery, you will have to invest in a few tools to get started. Those tools are necessary to help make the process easier, so you can come up with beautiful and well-made bling. Having the proper tools ensures you won’t have any hindrance to your creativity. As a result, you can come up with top-of-the-line bling designs that would look as if they were made by professionals.
With that said, here are nine essential jewellery-making tools you’ll need to have if you want to create custom bling:
1. Flat Nose Pliers
Consider the flat nose pliers as one of your go-to tools. There is a good reason for this. With your pliers, you can complete various tasks such as finishing wire-wrapped ends and open jump rings.
When choosing flat nose pliers, you may want to remember the following tips:
- Choose flat nose pliers that have a smooth surface between its jaws;
- Have two pairs of flat nose pliers so you can grasp anything without leaving crimps in the metal.
If you think that’s all, here’s more. There are so many different kinds of pliers out in the hardware store. It may also be worth investing in other pliers to put in your jewellery-making kits, such as parallel, round nose, and nylon pliers. These can help you with specific tasks that need precise handling.
Parallel pliers are best for jewellery making as they produce even pressure on the piece, so you avoid pressing too hard for grip and damaging the precious metal beyond repair. On the other hand, whenever you need to make smooth curves, you may reach out for your round-nose pliers. These are handy for working with jump rings, wire loops and hoops, and even clasps and bends.
Lastly, nylon-tipped pliers help make the process of bending wire easier. All you need to do is grab one end of the wire, grip it tightly with this plier, and then pull the wire through to smoothen it.
2. Jeweller’s Anvils
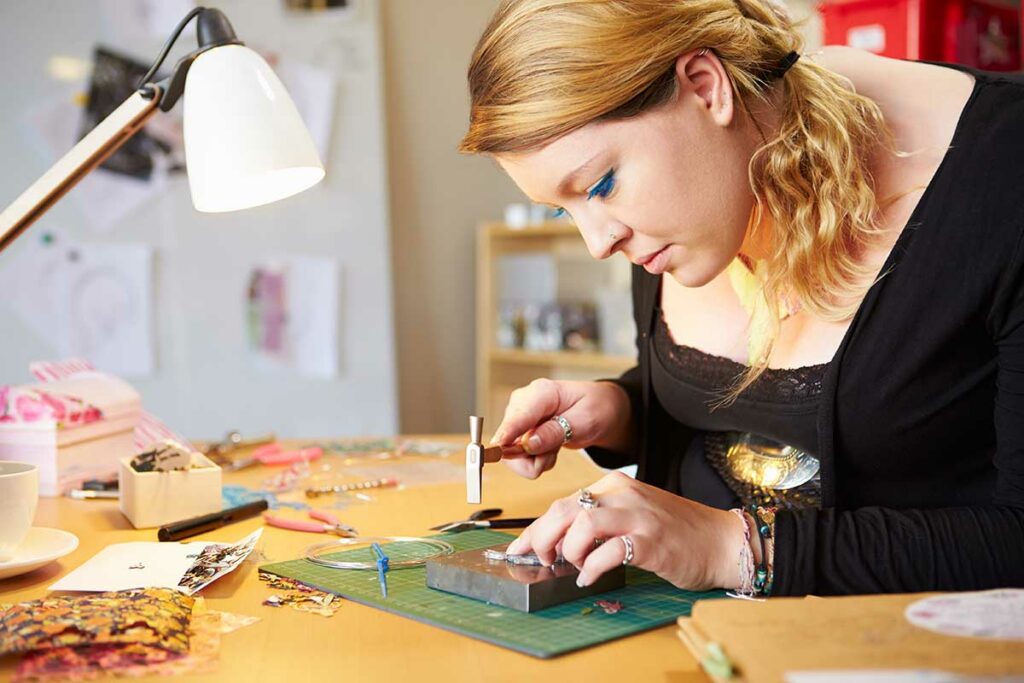
Jeweller’s anvils are one of the lightest and smallest anvils available on the market. Once you start working with gold, a jeweller’s anvil is one you’ll certainly need to have in your workroom.

This type of anvil is typically finished in a way that can provide a smooth layer in which you can shape the jewellery, which is often a precise and delicate task. You can rivet, stamp, hallmark, bend, emboss, and flatten your materials on the different parts of this handy tool.
3. Wire Cutter
Another essential you need to have for custom jewellery making is a wire cutter. As its name implies, this tool can cut your materials precisely. If you have a toolbox at home, check it out first, as this may be something you already have. If you don’t, then a trip to any hardware store is all you need to do. Wire cutters are pretty common, and you can find them almost anywhere.
4. Flush Cutter
You may use a flush cutter for cutting multiple wires in one go or when coming up with a wire-cutting technique. You can use them in the same manner as a wire cutter, but the only difference is that, with a flush cutter, you won’t have loose ends. Just ensure not to overdo it by cutting a wire that’s too thick. Otherwise, you may wind up damaging your flush cutter.
5. Cushioned Hand Grips
Cushioned hand grips are foam coverings on the tool’s handles. These are a great add-on to give you more flexibility, comfort, and movement while using a tool. Once you start making multiple custom beaded jewellery, you’ll be glad to have those cushioned hand grips.
6. Adhesive
There are instances when you may need to glue certain pieces or beads together, depending on the design of your jewellery. For this purpose, you’ll need a high-quality adhesive, so your jewellery won’t easily fall apart.
7. Ruler
As basic as this may be, a ruler is another must-have in your toolbox. A graphing ruler or the transparent one would be best for jewellery-making as it can help you visualize the measurements a little better.
8. Jeweller’s Saw
A jeweller’s saw is used for cutting material without bending it. It’s composed of three main parts: the blade, wooden handle, and a metal frame which you can adjust to accommodate the blade length you desire to use.

When working with a jeweller’s saw, the most important thing to remember is to choose the appropriate blade thickness based on the material you’re cutting. Using one that’s either too thick or too small won’t give you the clean and detailed cuts you wish to have for your jewellery.
9. Jewellery Wire
There are many different sizes, types, and thicknesses of jewellery wire you can choose from in the market. The choice depends on the project you have in mind. The most common types of jewellery wire are gold-filled, copper, sterling silver, aluminium, and yellow gold.

As to the size, here’s a quick guide you can follow:
- 24-gauge wires, which are best for jewellery pieces that need a lot of strength or using beads with larger holes;
- 28- and 30-gauge wires, which are thin and best used for tiny precious stone beads with small holes;
- 26-gauge wires are thin but strong, giving the perfect balance for any jewellery project you may be making.
Final Insights
With the tools and information above, you can now feel more confident and ready to make your own custom jewellery. After getting the hang of it, you may require a few more tools. But, the ones above are sufficient to get you started. Whether it’s only for your personal use or a small pop-up jewellery store you’re opening, these tools can help you be more productive and make high-quality jewellery. Now all that’s left for you to do is start.